
YACHT INTERACTIVE DASHBOARD — A graphical interface for managing docker containers


We all know how useful docker can be with how easy it is to run locally and be deployed in production.
Why Docker?
Docker makes sure what’s working on a developer’s machine will work on every machine. It eliminates the “it's working on my machine” excuse and also minimizes onboarding time for new developers.
Drawbacks?
One thing with docker is that you will spend most of your time in the command line running commands to manage and deploy your docker containers which can be off-putting for some people. After all, this is the 21st century, everything should be accessible and easy to use right?
Solution.
That’s where Yacht Interactive Dashboard comes in. Yacht is a container management tool that offers a graphical user interface for easy deployment of Docker containers. It uses templates for 1 click deployment of containers on your server.

Yacht is similar to Portainer but where it differs is that Yacht is solely focused on being a GUI for the already great command line docker tools such as docker-compose.
Some key features of Yacht are:
1) Easily Updatable Templates (Portainer Compatible) 2) Compatibility with Docker Compose 3) Basic Container Management 4) Advance Container Management with Modifiable Containers 5) Centralized Volume Management Settings 6) User Management (coming soon) 7) Container CLI (coming soon)
INSTALLING YACHT
Method 1: Installing as a Docker Volume
Lets start by opening terminal and creating a volume for Yacht
% docker volume create yacht
Install Yacht, assign to recommended listening port (8000)
% docker run -d -p 8000:8000 -v /var/run/docker.sock:/var/run/docker.sock -v yacht:/config — name yacht selfhostedpro/yacht
Now we can run docker ps to confirm that Yacht is shown as running

Method 2: Installing Using Docker Compose
Yacht also has support for docker-compose
In terminal, create a new Yacht directory
% mkdir yacht
Create a new docker-compose.yml file
% nano docker-compose.yml
Paste in the following contents
version: “3”
services:
yacht:
container_name: yacht
restart: unless-stopped
ports:
- 8000:8000
volumes:
- yacht:/config
- /var/run/docker.sock:/var/run/docker.sock
image: selfhostedpro/yacht
volumes:
yacht:
Save the file and start in detached mode
% docker-compose up -d
GETTING STARTED WITH YACHT
Now that you have Yacht up and running, you will be presented with the login screen
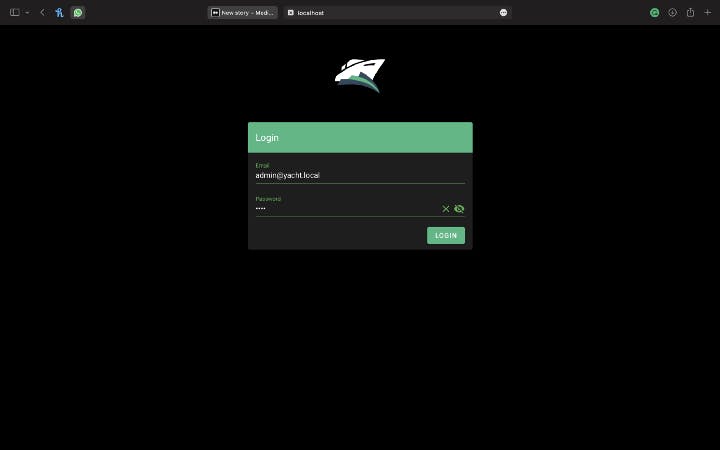
Enter the following default credentials to log in: Username: admin@yacht.local Password: pass Now create a new Template by going to the templates tab in the left sidebar
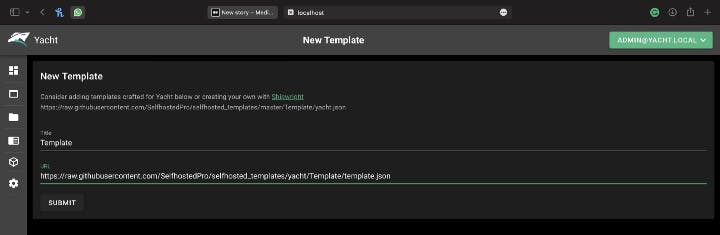
Let's start by using one of the default templates from the Yacht Github
Give it a title and enter the following URL and click Submit:
https://raw.githubusercontent.com/SelfhostedPro/selfhosted_templates/yacht/Template/template.json
That's it! You're off to the races. You can view and deploy your containers from here
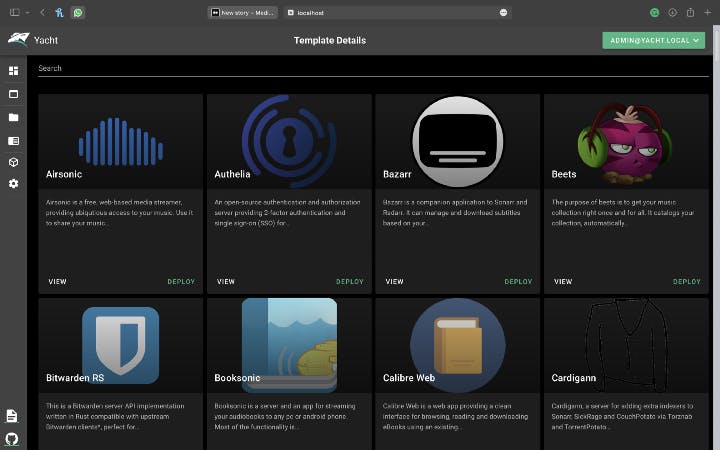
You can also manage Networking, Volume, and Environment settings from the Deploy tab of the container
miro.medium.com/max/720/1*VWwdnS11KlrfMrfXx..
Conclusion
Congratulations on installing Yacht! Now you can manage all your Docker containers through a graphical web interface making it easier and accessible to more users. For further information, refer to Yacht’s official documentation.
References: yacht.sh yacht.sh/docs github.com/SelfhostedPro/Yacht